Creating Distressed Typography
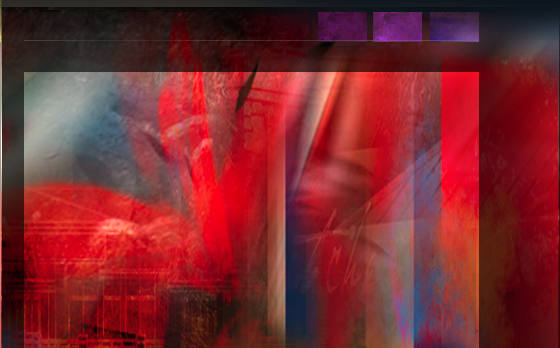
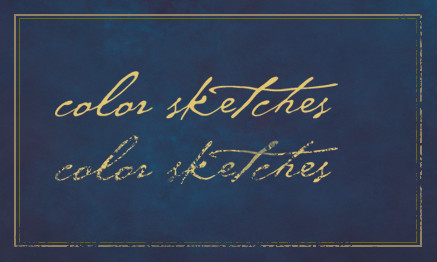
Creating a distressed look to type, or any other element, is a relatively simple exercise. It can, however, really help develop a rustic or weathered theme for your project. First create the element to which you wish to apply the effect. In this case I will demonstrate on the ColorSketches logo and a simple border around the image.
Next create a texture. This will provide the effect, the design can vary, different patterns will create different distressed effects. I have created the stipple pattern shown below. Once you have the texture the way you want it, use the selection tool to place a rectangle around the texture. Then save it as a pattern with Edit | Define Pattern…

The last step is to add a layer mask to the layer which contains the element to which you want to add the effect. In the layers palette, make sure you click on the mask icon that appears net to the layers name. Create a selection around the element and fill with the pattern you just created. You can see an example in the graphic above. The top logo is before the effect, and the lower logo has the mask applied. I have also applied the same procedure to the lower and right side portions of the border. Have fun experimenting by filling with different patterns, you can achieve any number of interesting effects.


