Painting in the Material World
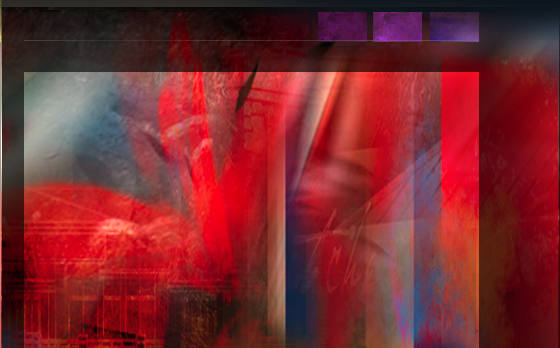
One of the common tests used in a 3d renderer is a simple sphere demonstrating materials and lighting. I am going to use a similar test to illustrate some 2d concepts. The following graphic was painted completely in Photoshop. The total time was under five minutes.

Granted it is nothing special from an artistic point of view, but when you are enhancing a 3d render in Photoshop, it is very important to understand what makes your 2d objects blend seamlessly with the render. Shadows are obvious of course, but never use black. I always like to use a darker, complementary color to make it pop. Use a blur filter to match the edges produced in the render.
Always remember to add specular highlights, they will add an extra bit of realism to your object. Then sample colors from the surrounding areas, and with a reduced brush opacity add some color to adjacent surfaces on your object. This will give the illusion that light is being reflected from surrounding objects. The next step is to copy merge adjacent areas and paste onto your object to add possible reflections. This step will depend on your material properties.
Finally, tint the whole object as required to make it look like it was rendered with the same light source. For example, if your render’s light source simulates dusk, you may need to tint your object with a little purple or blue.
This may seem like a lot of steps for each object in your rendering, but practice will enable you to do it quickly. The result will be added realism to your work. Practice with a simple sphere, and study how all of the material properties come into play within different environments. You may also find this knowledge will help you with your material development within the renderer.


